DIY Sugaring "wax" that really works

When it comes to DIY projects, ripping one's body hair out at the roots is usually something I'd leave to professionals, but the ancient technique of sugaring is just so darn accessible.* Luckily for you, I already combed through and tried all the bad advice on the Internet (only a modest exaggeration) to save you the literal pains associated with less-than-stellar methods. Yes, I have the bruising to prove it. No, I'm not proud of that part.
The result, however, I am proud of: A recipe that actually works! I exclaimed aloud (all by myself), "I did it!" when I finally got it right. The stakes were that high.
So what's the big deal with sugaring? There are so many ways to remove body hair, why get pumped about just one?
1. The Ancients Loved It
Sugaring has been user tested for a casual few millennia. Purportedly dating to the Middle Kingdom of Ancient Egypt around 1900 BC, sugaring went on to conquer Ancient Greece, Ancient Persia, and has been a popular method in the Middle East for centuries.1,2
2. It's super simple, cheap, and easy
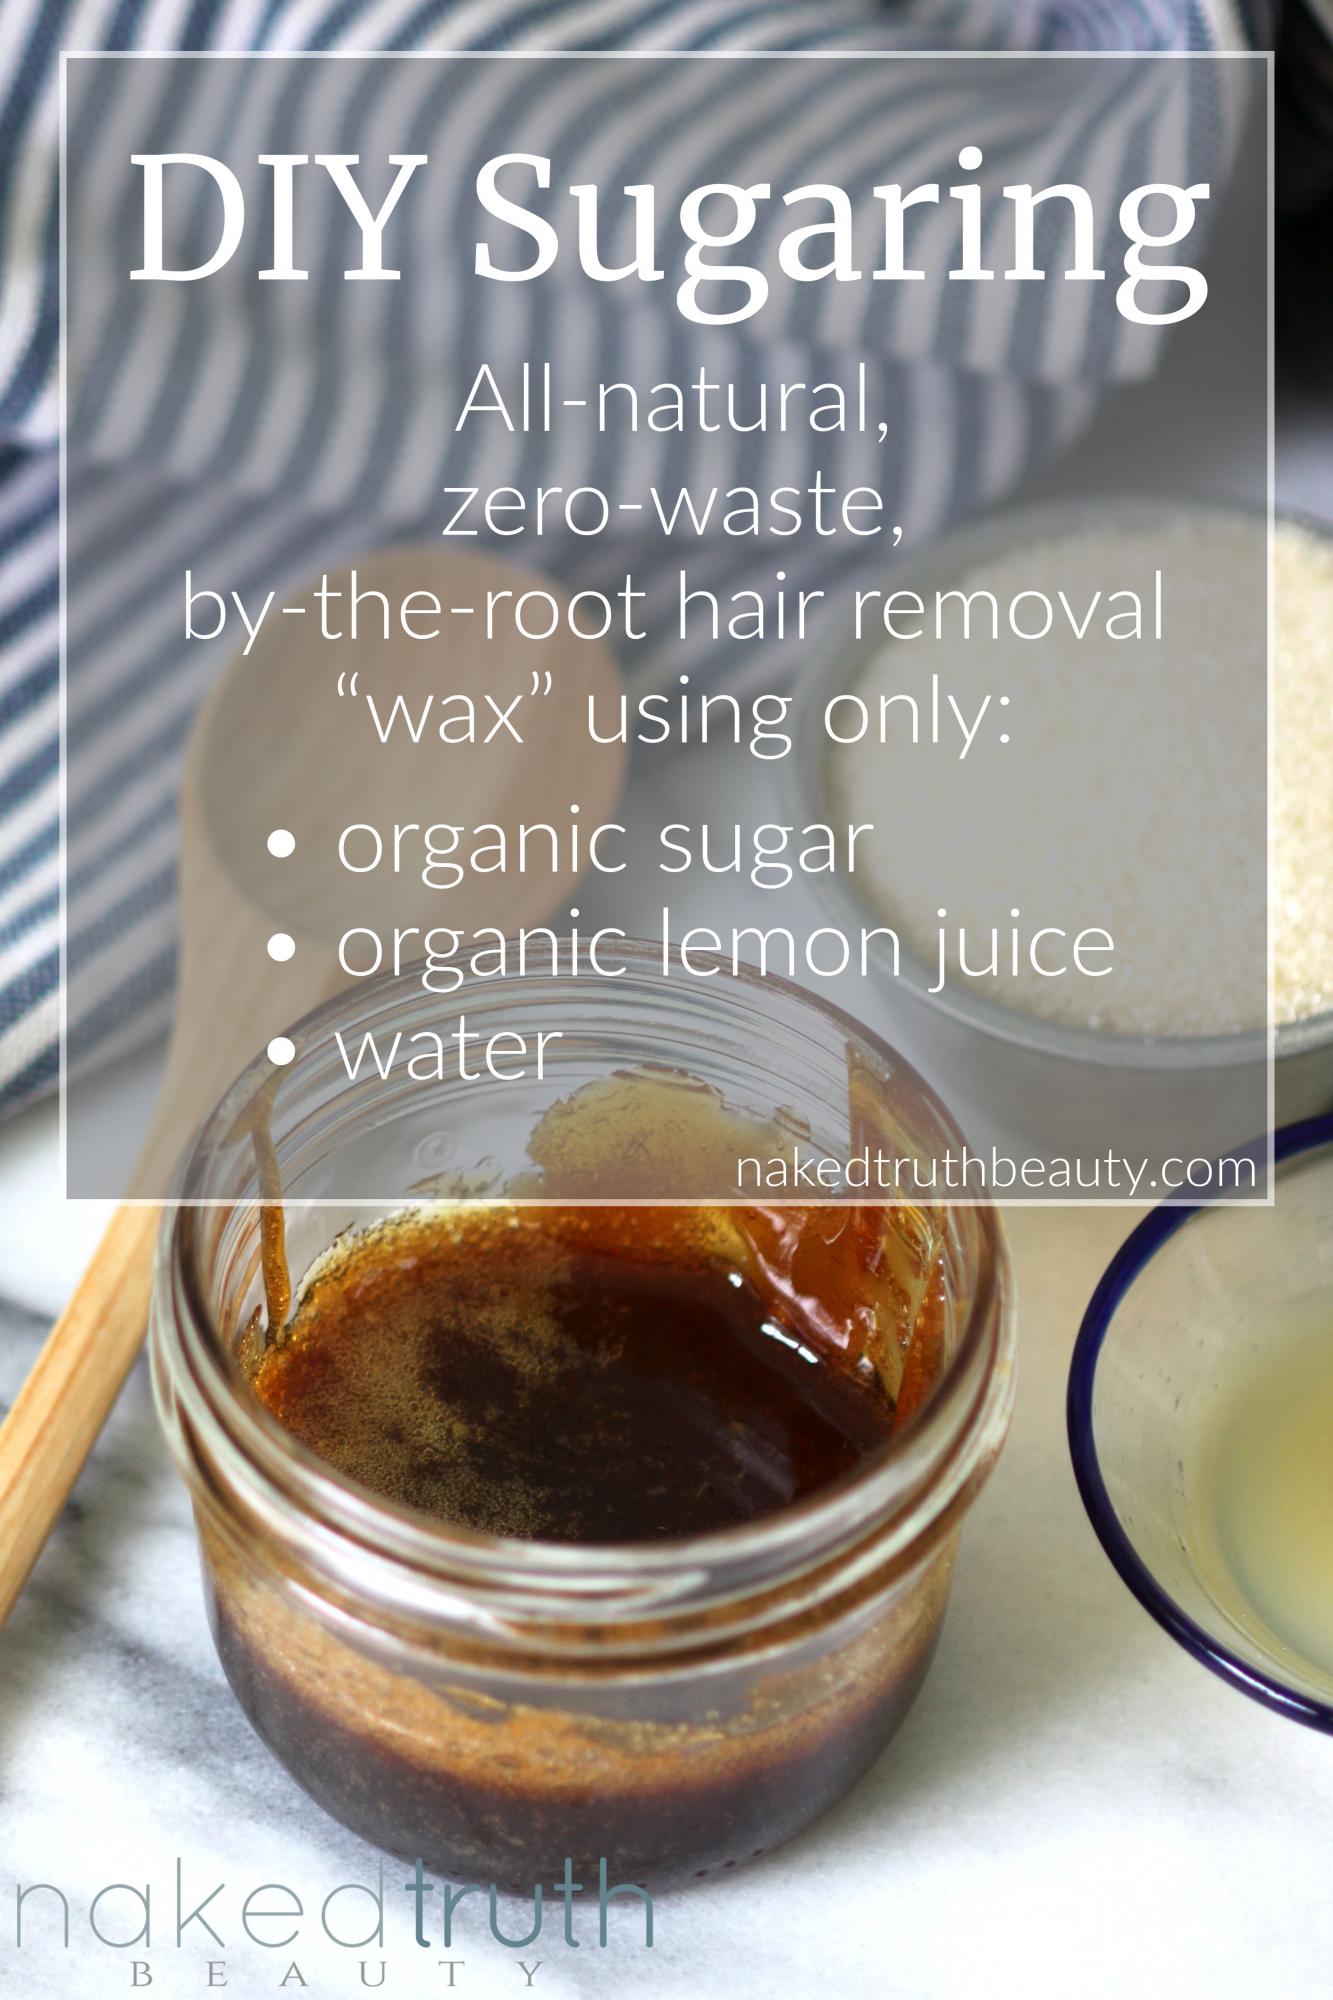
Essentially, sugaring "wax" is just caramel, and is made of only sugar, water, and lemon juice (you'll see recipes for salt or other extras – you don't need those) – affordable pantry staples that often don't require an extra trip to the store. Plus, sugar is a natural preservative, making this last a long time so you don't have to make a new batch every time. As someone who works with oil-based products all the time, I have to add that this stuff cleans up like a dream. Hot water dissolves it. Done. It couldn't be easier!
3. It works – plus, it hurts less
This sticky paste pulls hair out at the roots without ripping off the top layer of skin. Yeah, it still hurts a little, but way less (personal opinion) than waxing. I'm hooked.
4. It's zero-waste, non-toxic, and eco-friendly
Razors create needless trash, and waxing wax has the double whammy against it of being made with questionable ingredients, and needing to be thrown away. Don't even get me started on Nair.
Sugaring, on the other hand, is pretty much a no-waste operation, and dissolves in hot water to literal sugar water. It's probably not good for fish diabetes, but other than that, seems ok. You can eat this, but I wouldn't recommend it because it's way too sticky to be comfortable on teeth. Consider yourself warned.
Sugaring Methods
Proper sugaring is done with a pliable mass of sugaring paste that is applied and removed with fingers, and can be reused for multiple sections before losing its stickiness. It reminds me of non-toxic, for-adult-purposes Silly Putty.
Too many recipes for sugaring "wax" have the dry-to-wet ratio of the ingredients all wrong so that the sugar is always too sticky and won't hold into a ball. The authors of these recipes will tell you to use cloth strips to remove it like traditional wax, which works, but isn't sugaring in its best form. It's also wildly frustrating and rather messy to work with. I tried one of these ill-fated recipes in my experiments and used old muslin from a sewing project in lieu of waxing strips. However, it's super easy to wash and reuse the strips if you go this route.
How to Make Sugaring "Wax"
ingredients
- 1 cup sugar (I used organic, fair trade cane sugar)
- 1/4 cup lemon juice (I used bottled organic – yeah, yeah, fresh is better, but I have a lemon juice problem and they're a dollar a piece here)
- 1/4 cup water
+ a bowl with water of any temperature you like
+ a candy thermometer if you have one
+ a glass jar for storing (a short mason jar works brilliantly – you need to be able to reach the bottom)
Feel free to halve or double the recipe to make less or more!
the process
- Pour sugar in the bottom of a saucepan, being careful not to get any crystals on the sides.
- Pour in your liquids, being sure to cover all the sugar. No dry spots!
- Place saucepan over medium-high heat (don't go too crazy on the heat, this will burn in a jiffy).
- Now, I've watched every season of The Great British Bake Off (making me a confectionary expert, obviously), and they always say, to avoid crystallization, DO NOT STIR CARAMEL. There are different opinions about this, but if it's good enough for Mary Berry, it's good enough for me. I did a light swirl to incorporate the ingredients and had no issues. With that said, my understanding is that the heavy quantity of acid helps to ward off crystallization – but stir at your own risk.
- Watch your pot, I promise it will boil, and it will burn while you casually check Instagram while you wait.
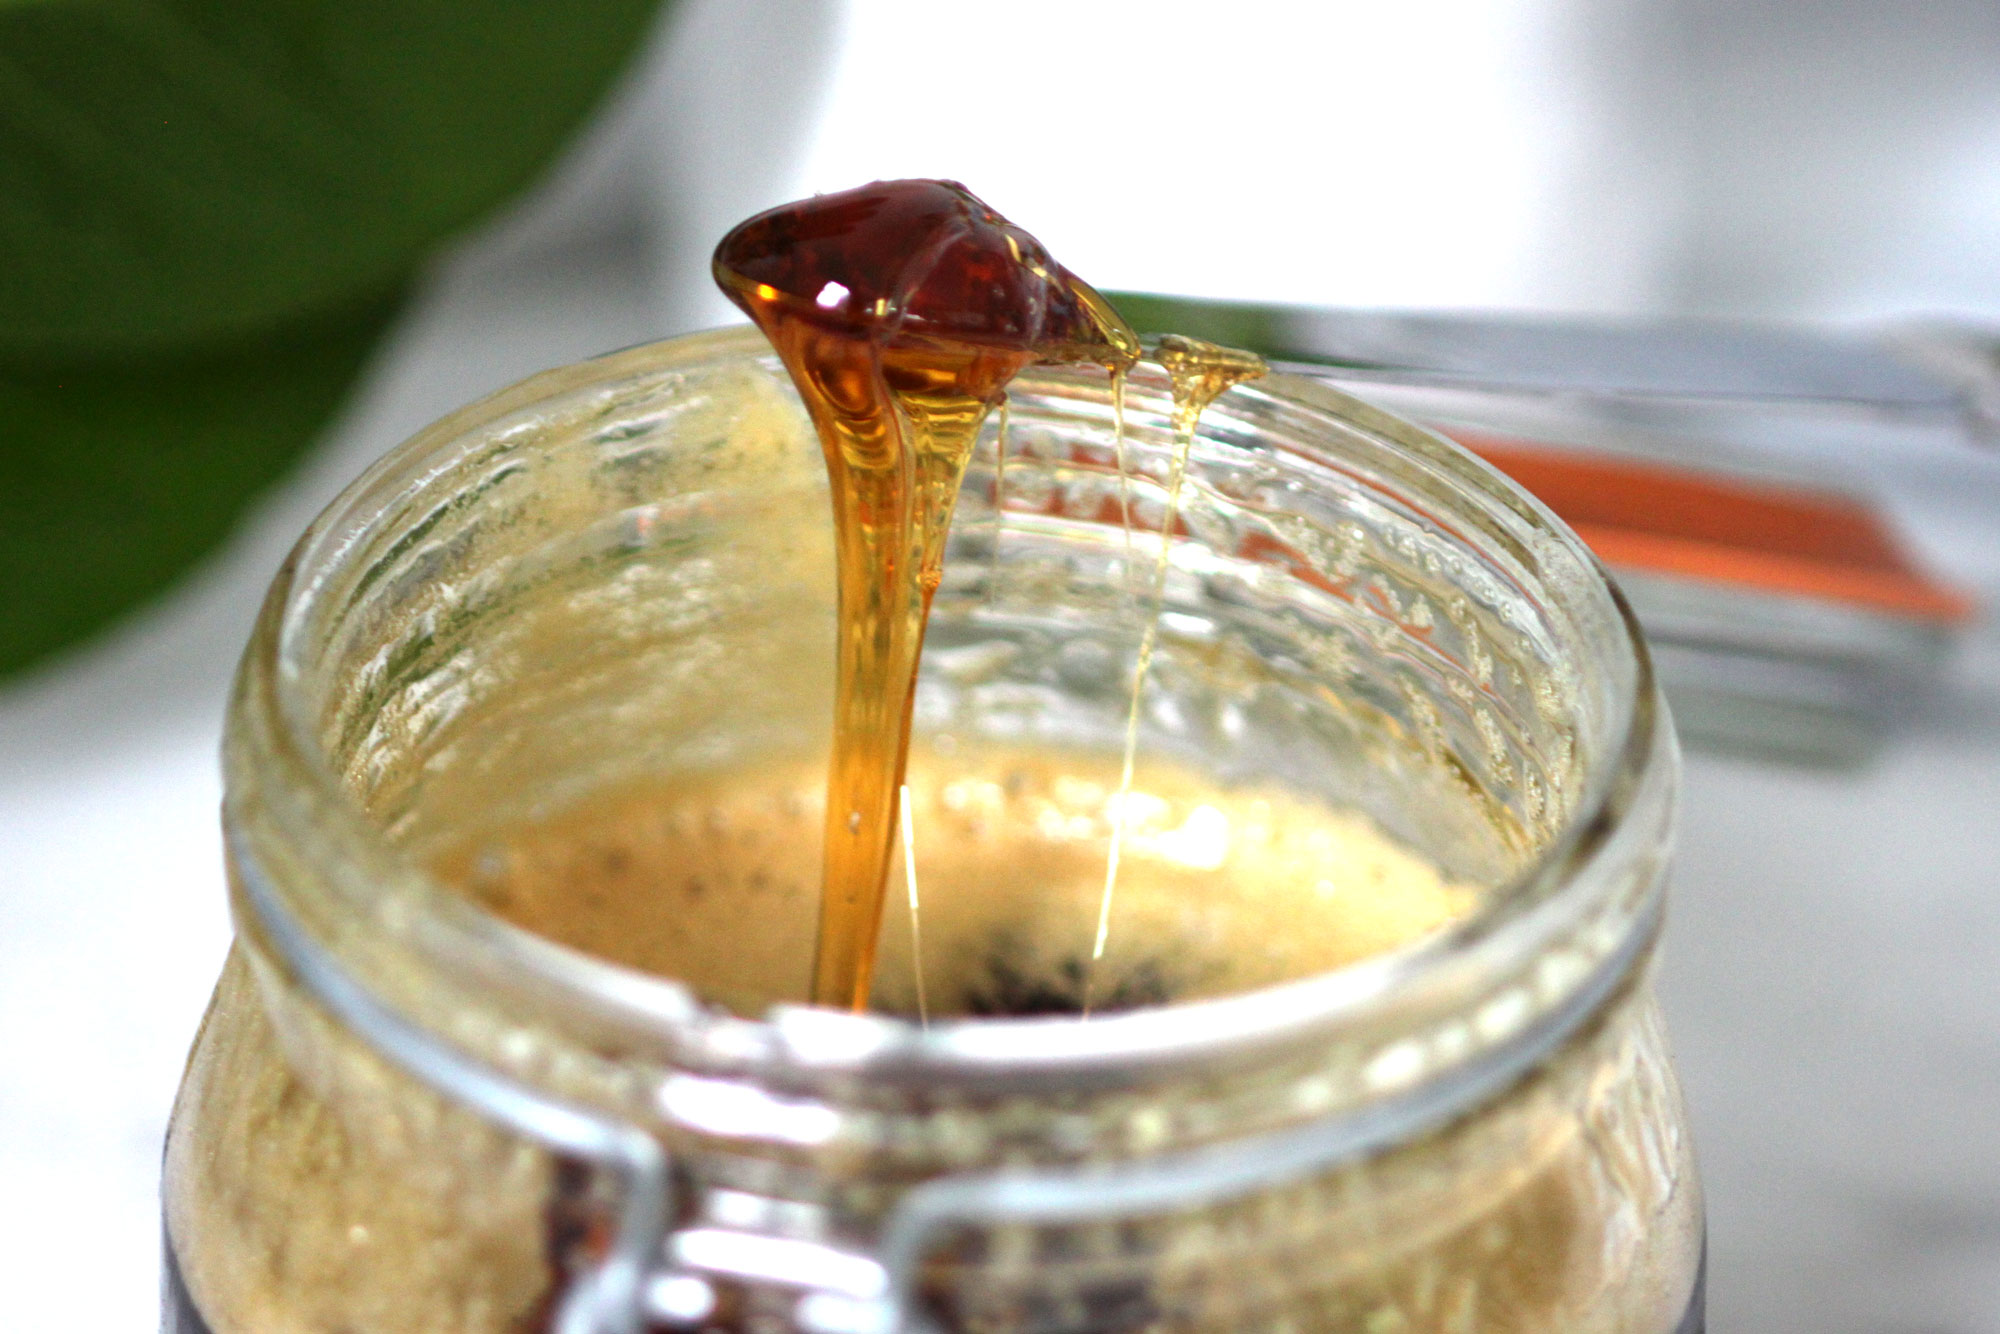
- Watch for your mixture to change to a warm honey color (not too dark!), and pull it from the heat. You can always put it back on. If you do have a candy thermometer, heat the mixture to 240˚F (soft ball stage) and pull from the heat. The perfect temperature is going to be different depending on the heat and humidity where you live. Please read the notes on temperature, below.
- Turn off your stove. (Baby brain + sleep deprivation makes this a necessary reminder)
- If you want to get going right now, when your candy is cool enough to touch (seriously, sugar burns suck – DO NOT BURN YOURSELF), dip a finger in your water and spread it across your fingers and palms so your hands are slightly damp but not wet. Scoop out a hunk of candy and knead it by stretching it between your hands like taffy (stretch, fold, stretch, fold). If you end up with syrupy hands, you've got too much water going on. You'll know it's ready when the candy turns opaque. Roll it into a ball and you're ready to begin!
- If storing, oil your storage jar as lightly as a jar can be oiled before putting your kneaded ball in. This will make removal much easier.
- If you opt to skip the kneading and to pour your candy into your storage container unprepped, run the glass under hot water first so it doesn't shatter when you add the hot liquid. Keep water out of the interior, though. Kneading before storage will make your sugar easier to handle in the future, but if you opt to store sans kneading, I recommend a softer ball stage to make removal from the jar easier.
how to use your sugar
- Make sure that the hair is about a 1/4-1/2 inch long. Hair too long will be more painful to remove.
- Make sure skin is clean, dry, and free of any lotions, oils, etc.
- Beginning at the bottom of the intended hair removal area, rest the ball of sugar against your skin, and use three fingers to push the ball into your skin and up against the direction of hair growth. Without lifting it from its current location, re-stretch the putty across the area to make sure you've got good adherence and coverage. If your sugar pulls up from the skin as you try to stretch it, you've got too much moisture. Try dusting a tiny amount of arrowroot powder or corn starch on the skin to absorb excess moisture.
- Holding the skin taut (super important, especially in delicate regions like armpits or bikini – or just go to a professional), pull sugar putty away from your skin in the direction of the hair growth and as parallel as possible with your body. You may find it easiest to do this in a flicking motion.
- Reform the ball and keep going. Use the same ball of wax until it's not sticky anymore and then start fresh with a new one.
- When finished, remove any lingering stickies with a clean luke-warm wash cloth.
- Wait 24 hours for any hot showers, repetitive motion activities (e.g. running), or soothing ointments or serums. Be extra careful to keep the area clean. After 24 hours, you can apply soothing oil (coconut oil recommended for its antimicrobial properties) or aloe vera. If you don't have an aloe plant on hand, make sure you're using a store bought aloe with the cleanest ingredients possible. The stuff at the drug store is usually icky and full of crap. Try something like this one from Amara Beauty. (If you're curious about why aloe can't just be "aloe" on the ingredients list, jump down this rabbit hole.)
- After 48 hours, exfoliate the area and repeat 2-3 times a week. This helps prevent ingrown hairs.
important notes on heating your sugar
Realistically, you're going to have to do this a couple times to find what works best for you. I recommend starting with the soft ball stage (lighter honey color) because you can always heat more, but not less. This will probably be a good temperature for you if you live in a colder region. If you live somewhere hot and humid, you may find that you need to heat your mixture to the firm ball (250˚F) or hard ball (260˚F) stage so that it doesn't get melty and sticky as you work. If you're heating to a firmer stage, it's highly recommended to knead before storing, or you'll need to reheat your mixture to get it out of the jar. Please keep in mind that the warmer your sugar is, the softer it will be. So if you're working with it right away when it's still warm, and it's too loose, you can either heat it to a firmer state, or wait for it to cool more.
Not into DIY? You can buy!
Let's get real, making sugaring wax (candy) isn't for everyone—or maybe just not for every occasion. For those times when you just can't get to the stove, or have run out of your freezer supply, there's Sugardoh.
Made with only sugar, organic citric acid, and purified water, Sugardoh basically does what you just learned, above, and put it in a jar so it's ready to go when you need it—and perfect every time.
Choose your desired firmness and tools, or try a bit of everything with the
Essentials Starter Kit - $80.00
from: Sugardoh
Naturally unnaturally hairless.
*Support your local sugaring salon, if you're financially able to do so!
1. Tannir, Dania; Leshin, Barry (March 2001). "Sugaring: An Ancient Method of Hair Removal". Dermatologic Surgery. (3): 309–311. doi:10.1111/j.1524-4725.2001.00175.x.
2. Fernandez, Alexandra A; França, Katlein; Chacon, Anna H; Nouri, Keyvan (2013). "From flint razors to lasers: a timeline of hair removal methods". Journal of Cosmetic Dermatology. (2): 156. doi:10.1111/jocd.12021. ISSN 1473-2130.